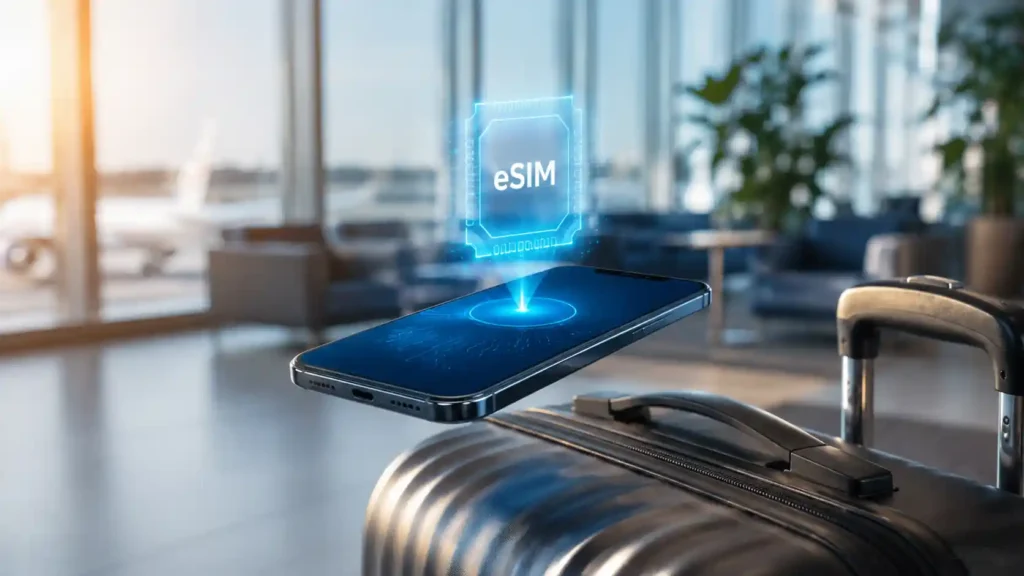
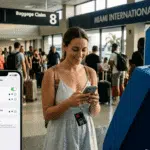
Touching down at John F. Kennedy International Airport is exhilarating, but figuring out your mobile connection shouldn’t be stressful. For modern travelers, relying on the free JFK airport wifi to download a digital data plan is the smartest way to get online before you even reach baggage claim.
While many tourists still waste time looking for a physical SIM card at JFK, switching to a travel eSIM saves you from expensive airport markups and long kiosk lines. In this guide, we will show you exactly how to connect to the JFK Wi-Fi network, why skipping the traditional SIM card is a must, and how to activate your digital data plan so you can book your Uber to Manhattan instantly.
🗽 Looking for full NYC coverage? This airport guide is part of our master series. Check out our complete guide to the Best eSIM for New York to see top-rated plans for the entire city.
✈️ Landing at a different airport? Read our specific connectivity guides for Newark (EWR) or LaGuardia (LGA).
1. How to Connect to JFK Airport WiFi for eSIM Activation
To activate your pre-purchased eSIM, you need a stable internet connection. Fortunately, the official JFK airport wifi is fast, completely free, and available across all terminals (Terminals 1, 4, 5, 7, and 8). Here is how to connect as soon as you step off the plane:
Turn on your phone and go to your Wi-Fi settings.
Select the official network named: _Free JFK WiFi.
A browser window will automatically pop up. Click the button to watch a short ad or accept the terms and conditions.
Once connected, go to your phone settings (Cellular/Mobile Data) and scan your eSIM QR code to activate your 5G/LTE data profile.
💡 Pro Tip: Buy your eSIM before your flight. Take a screenshot of the QR code or have it ready in your email so you can scan it the moment you connect to the Wi-Fi.
2. Buying a Physical SIM Card at JFK vs. Using an eSIM
If you haven’t bought an eSIM yet, you might be tempted to look for a traditional SIM card at JFK. You will typically find these at Hudson News stores or small electronics kiosks in the arrivals halls. However, we strongly advise against it for several reasons:
Feature
Tourist SIM Card at JFK
Digital Travel eSIM
Cost
Expensive ($40 – $70+)
Affordable (Starts at $4.50)
Wait Time
15-30 minutes in line
Instant (2 minutes setup)
Keep Home Number
No (must swap plastic SIMs)
Yes (Dual SIM functionality)
3. Best eSIMs to Download Upon Arrival at JFK
Don’t overpay at the airport kiosks. Connect to the Wi-Fi and download one of these top-rated eSIM profiles right now. Not sure which one to pick? Read our detailed Holafly vs Airalo comparison.
🥇 Holafly (Unlimited Data)
Best for heavy data users who want to stream, use maps, and upload photos without worrying about running out of gigabytes. Uses AT&T and T-Mobile towers.
Once your eSIM is active, you are ready to navigate out of Queens and into Manhattan. Your data will immediately come in handy for:
Rideshares: Booking an Uber or Lyft from the designated pickup zones (signal is extremely strong outside all terminals).
AirTrain to Subway: Using Google Maps to route your trip via the Jamaica or Howard Beach stations.
Underground Connectivity: If you are taking the E, J, Z, or A trains, check out our full NYC Subway Connectivity Guide to see where you might lose signal underground.
Mohamed Kacha is a digital entrepreneur and tech writer specializing in international mobile connectivity and travel tech. With hands-on experience navigating roaming challenges and testing global eSIM solutions, Mohamed is dedicated to helping travelers stay connected seamlessly without breaking the bank